


公司经营领域广泛, 坚持“以诚为本、以信取胜,科技领航、长远共赢”的经营理念,矢志不渝地为客户提供各种优质的设计及方案。公司以创新、优质、真诚、务实的工作精神,面向全国,走向全球,公司将一如既往的致力于管理创新,引领行业创新,精心为客户提供更高品质的产品与服务,全力打造行业龙头品牌。


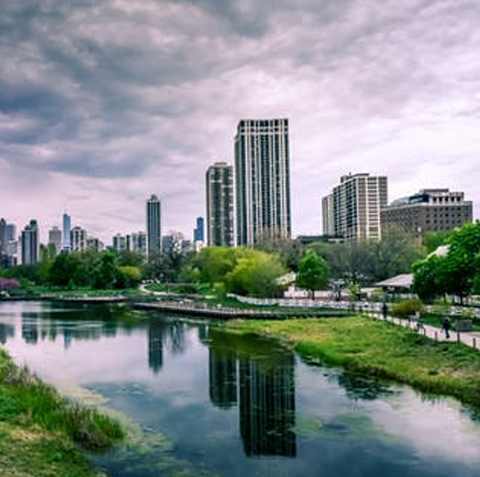
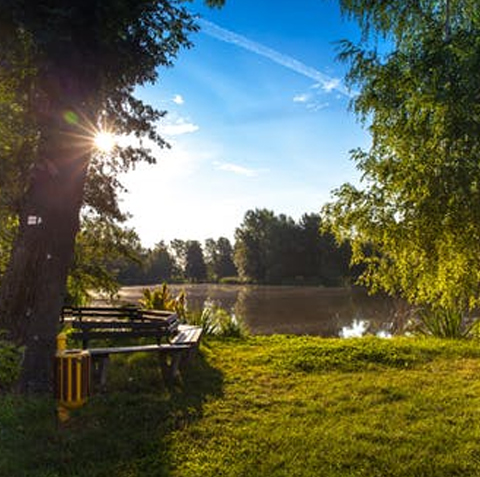
澳门新威斯人『中国』有限公司:是一家从事环保设备技术研发、技术推广;水、大气、土地污染治理地质灾害治理;环境监测;新型环保建筑装修材料技术研发及技术推广;城乡园林绿化及亮化工程施工;无危险品化工产品销售;医疗器械经营;污水处理工程施工;电力工程;管道工程施工.....

公司经营领域广泛, 坚持“以诚为本、以信取胜,科技领航、长远共赢”的经营理念,矢志不渝地为客户提供各种优质的设计及方案。公司以创新、优质、真诚、务实的工作精神,面向全国,走向全球,公司将一如既往的致力于管理创新,引领行业创新,精心为客户提供更高品质的产品与服务,全力打造行业龙头品牌。

澳门新威斯人『中国』有限公司
地址:大连市甘井子区华北路285G
联系人:高经理
电话:139-4096-9577
邮箱:18104855777@163.com


